This part of the tutorial shows you how to animate the model created in the first part.
Since it is addressed to beginners, this part of the tutorial will show you in detail how to create buttons and the associated macros for the input data interface and it will also show you how to animate the flight of the projectile and explain the VBA macro behind the animation.
![]()

[sociallocker]![]() [/sociallocker]
[/sociallocker]
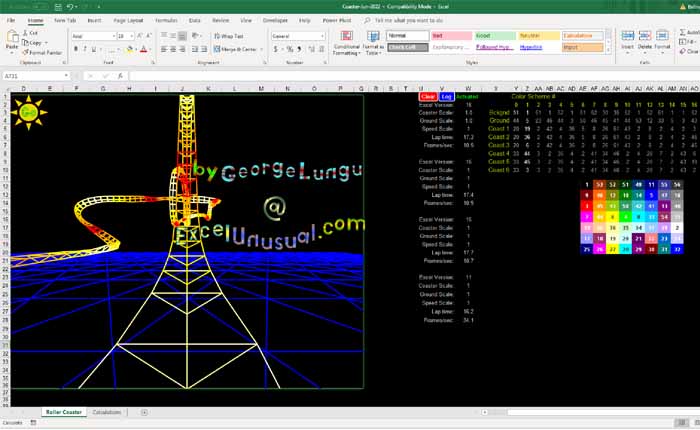
Projectile Motion Tutorial #2 – animating the basic high school style approach (kinematic solution without aerodynamic drag)
by George Lungu
Goal:
Since this tutorial is addressed to beginners, this part of the tutorial will show you in detail
how to create buttons and the associated macros for the input data interface and it will also show
you how to animate the flight of the projectile
Creating buttons:
– Bring up the control toolbox: View => Toolbars => Control Toolbox
– Enter design mode by clicking the top left icon on the Control Toolbox:
– Click the spin button icon on the toolbox and drag-draw a button on the
worksheet
– Right click the spin button,
select “Properties” and bring up
the Properties menu
– Change the name to V-initial
– Change Max to 1000
– Change Min to 1
– Note that you can change the color of the
button from the Properties menu. There is
also a delay (in milliseconds) you can
decrease to make the button act faster.
<excelunusual.com> 2
Macro associated with the first button:
– Double click the button and the Visual Basic Editor will open up (you can also use Tools => Macro
=> Visual Basic Editor to achieve the same thing or another option is to use the shortcut Alt+F11)
– You will see the following code (or if you don’t see it write the following code yourself):
Private Sub V_initial_Change()
End Sub
– Go ahead and modify it into:
– Which really means: take the button value (which in range, divide it by 10 and paste it in cell B10)
Private Sub V_initial_Change()
[B10] = V_initial.Value / 10 our case can be manually adjusted in the [1,1000]
End Sub
– Make sure you exit the design mode before you try the button and the macro!!!
– To exit the design mode simply click the top left icon on the Control Toolbox:
– What we got here is a button from which you can change the initial speed in cell B10
from 0.1 m/s to 100 m/s in increments of 0.1m/s
<excelunusual.com> 3
Using the same procedure create the next three buttons :
– Name: “Alpha”
– Range: [-90,90]
Private Sub Alpha_Change()
[B12] = Alpha.Value
End Sub
– Name: “Height”
– Range: [0,100]
Private Sub Height_Change()
[B14] = Height.Value
End Sub
– Name: “Time_Step”
– Range: [0,100]
Private Sub Time_Step_Change()
[B16] = Time_Step.Value / 1000
End Sub
Animation macro:
– In order to animate the model we need some sort of a macro which, when triggered, will
count up an integer number in a cell
– Let’s choose that cell to be B20 and call the number in the cell “Index”
– We will use the “Index” value in two “Offset” functions to select (x,y) values from the
trajectory table and place them in a location on the worksheet called x_current / y_current
– Charting (x_current, y_current) will result in the movement of the “current” point on the chart
Cell F36: “ =OFFSET(C26,B20,0)”
Cell G36: “ =OFFSET(D26,B20,0)”
– The above formulas mean that range F36:G36
contains a slice of the trajectory table and the
position of the slice within the table is determined
by the value of cell B20 (the “Index” value)
– Incrementing the “Index” value will result in the
slice moving down towards larger time values
-Add the “current” point data as a new series on the chart
and name the series “Projectile”
– After the point is displayed make sure to choose a solid
fill (I chose red) and increase the size of the point to at
least 15 pts.
<excelunusual.com> 5
The animation macro:
Private Declare Sub Sleep Lib “kernel32” (ByVal dwMilliseconds As Long)
————————————————————————————————-
Sub Fire()
[B20] = 0
Do While [G36] > 0 And [B20] < 2000
DoEvents
[B20] = [B20] + 1
Loop
Sleep 1000
[B20] = 0
Exit Sub
End Sub
– First we need to declare the Application Programming Interface function “Sleep”
– The number in the index cell is reset after macro starts and before the end of the macro
– There is a conditional loop in the macro incrementing the index. It stops the macro when the
number of iterations either exceeds 1999 or the projectile height becomes negative
– I allowed the projectile to remain at the end of the trajectory 1000 milliseconds (1 second)
before resetting the index (you can remove the sleep statement if you like)
– I used an “Exit Sub” statement because as opposed to earlier versions, Excel 2007 will repeat
the macro over and over
– This model will be very slow on Excel 2007
To be continued…
by George Lungu <excelunusual.com>
how to creat pause botton animation
Gusti, I will make a tutorial about this.