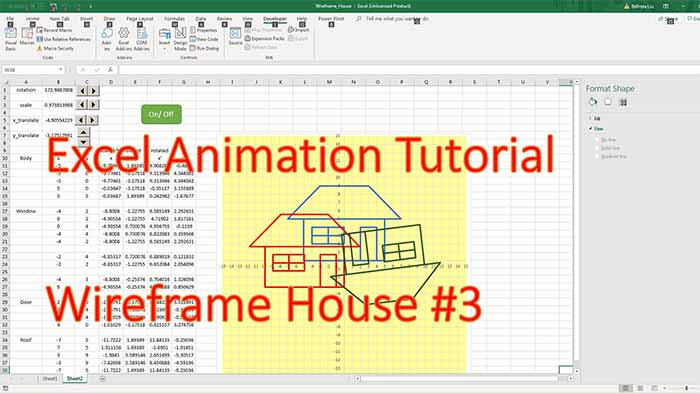
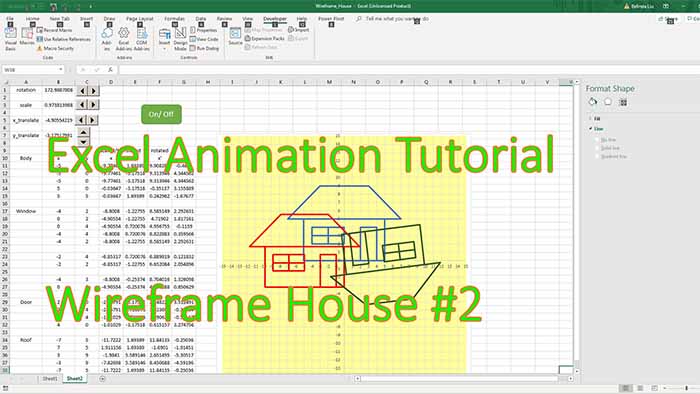
By popular demand I am coming back to Excel after a long hiatus. This is the third in the series of beginner level tutorials targeted to building Excel animated models and games.
This is the third part of the video tutorials about one of the most important Excel animation macros (or sub routines). It’s the “toggle” macro built pretty much during the previous two tutorials, but in this tutorial we insert some functionality to the button itself, namely when the loop is running, the button is green and it has the text “On” on it, and when the loop is stopped, the button is red and it as the text “Off” on it. Download by hitting the light green button above. Enjoy and come back for more tutorials like this!
Tutorial level: beginner
Thanks for your support!
0:00
hello my friends and welcome back today
0:02
we will be continuing our investigation
0:05
into this uh
0:06
start pause or on off macro
0:09
and uh first i want to show you uh one
0:12
thing i did some time ago this is a
0:16
an animated cat ninja cat you go to a
0:21
site where they have these three sprites
0:24
this one came in
0:26
six parts
0:28
it was the upper arm lower arm actually
0:31
more than that upper arm lower arm the
0:34
hand the paw foot the lower leg upper
0:38
leg the torso and the
0:41
the head and you put them in the right
0:43
position and you create various stances
0:46
of the cat i’m running through pictures
0:48
this is the first picture the second
0:50
picture third picture
0:55
is hitting the ball
0:57
and then
0:59
runs back
1:01
i mean retreats
1:09
you can create your own movement like
1:11
this using parts so these basic very
1:14
basic sprites coming from free websites
1:17
in general and you can create simple
1:20
games this being said let’s go back to
1:23
our
1:24
start pause macro and i want to create a
1:26
new version so i’m going to take this
1:29
sheet sheet 2 and move our copy
1:32
to the end
1:34
rename it
1:36
sheet 3. i’m going to go into developer
1:39
visual basic
1:42
let’s rename this
1:44
start pause three
1:47
actually let’s call it on off on
1:52
off leave three there so we know is
1:54
associated with three you can have the
1:57
same
1:58
macro in different sheets with the same
2:00
name it’s okay it’s just not a good
2:03
practice because
2:05
when you need to use them then you might
2:07
be confused so on off three even though
2:11
there is no on off one or two let’s
2:13
leave it on off three and what i want to
2:16
do is i want to be able to change color
2:18
and change the text in this uh
2:20
button in the shape depending on the
2:23
status of the loop so it’s running it
2:25
needs to be on and green and when it’s
2:28
stopped needs to be off and red so off
2:32
and red for this first we need to go and
2:36
assign macro assign the on off 3 and
2:39
check this out now is running before it
2:41
didn’t run because it still had the
2:43
macro from sheet 2
2:45
what i want to do
2:47
i want to show you how to record a macro
2:49
this is a very good practice record
2:51
macro let’s change the color first right
2:54
click and
2:56
go here to fill
2:57
change to red and stop recording and
3:01
then i go right here and in module one
3:05
i will also play with some other stuff
3:08
here so let’s delete this
3:10
let’s pick up this um oh first
3:13
before doing that
3:15
i want to show you something
3:18
go here
3:19
right click change it to
3:21
green
3:24
and run it from here okay
3:26
place the cursor inside this macro that
3:28
we recorded it turned it into red so
3:31
this so the macro we recorded
3:34
is working
3:35
and going sheet two and i want to make
3:38
this red
3:40
when
3:40
the state is false
3:42
right here
3:45
ctrl v
3:50
and let’s see if it runs
3:53
first
3:55
turn it into red into green
4:01
and
4:03
oops
4:07
something wrong here
4:10
oh yeah because you you don’t just put
4:13
this macro
4:14
for you
4:16
you just just need to take the content
4:19
of macro 3 and put the thing now it
4:21
should work
4:23
okay you see turns it into red
4:26
but the problem is uh it highlights it i
4:29
don’t want this highlight plus
4:31
from my experience this is huge
4:34
the code here this many lines you don’t
4:36
need this
4:37
it’s already solid is already
4:39
transparency zero
4:41
all you keep is the color
4:43
information okay visible is true
4:46
we don’t need to care about that
4:49
so with selection blah blah blah
4:51
and the width here let me remove the
4:54
width and do this
4:59
okay let’s see if
5:00
if it runs
5:08
so this should be green 255 and zero
5:11
here
5:17
okay you see it’s changing color
5:20
another thing i want to do when it’s
5:21
green i cannot see the text very well i
5:24
want to make it a little bit darker so
5:27
instead of 255 this is a maximum amount
5:31
of green let’s put the 150 okay
5:37
it’s too too dark now this is good
5:40
and
5:42
but another thing i want to do i want to
5:44
change the text
5:45
when it’s running should be on when it’s
5:48
off it should be off the text here on
5:52
the shape stubble macro
5:54
record new macro
5:56
right click highlight
5:59
on
6:01
actually let’s not leave on let’s put
6:04
some ugly text that we can see
6:07
and then stop the macro stop the
6:10
recording
6:15
active sheet this is it okay
6:19
you see that the funny text we put blah
6:21
blah blah blah blah 77
6:24
this is it so it starts here with active
6:26
sheet active sheet and it ends at the
6:28
name
6:29
the rest is just some default things
6:31
they do in the background
6:34
but they are already true like
6:37
is it opaque yes it’s not transparent
6:40
yes
6:41
it has this kind of border we don’t
6:43
change that so because we don’t change
6:45
it i don’t like to add code that we
6:48
don’t necessarily absolutely necessarily
6:52
need
6:53
i’m going to go here
6:56
and add this
6:57
and test if it runs
6:59
let’s put instead of this funny name
7:02
let’s put on
7:08
let’s try to
7:09
remove the selection right now it’s
7:12
selecting it i don’t want that
7:24
no
7:24
it’s okay
7:26
i know for a fact that if i remove the
7:29
shape range it still won’t run
7:33
so you don’t need that
7:36
i mean you can leave it but i like to
7:38
make it as slim as possible
7:40
so off
7:41
and then take this and ctrl c
7:45
when this is on
7:47
it should be on
7:49
okay
7:54
another thing i want to do right click
7:56
make it smaller
7:59
check this out
8:00
on off on off
8:03
when it’s on is counting up when it’s
8:05
off it’s stopped
8:07
and this being said thanks for watching
8:09
and i will see you in the next tutorial
8:12
have a nice day

